

the popsicle plan
the snack that gets everyone outside.

I have bought a lot of berries over the last fifteen years.
A truly irresponsible amount of berries.
And while I continue to buy them every week, I would like the record to show that a six-dollar carton of strawberries lasts approximately eleven minutes in my house.
Popsicles require a little more commitment.
Admittedly, they have their own problems.
Mostly sticky ones.
But sticky can be solved with a hose.
A hose turns into playing in the water.
Playing in the water attracts neighborhood kids.
Suddenly everyone is outside.
Start to finish, that buys you twenty minutes. More if the hose gets involved.

I am not trying to make popsicles precious.
They are frozen things on sticks. Some are homemade. Some come in a box. Some are basically dessert. Some have yogurt in them and get to feel a little responsible.
Fine.
The useful thing about a popsicle is that summer snacking is not always about hunger.
It is about boredom.
A popsicle gives that kid a job.
Pick one. Get it out of the mold. Eat it before it melts down your wrist.
And in my house, do it outside.

Make them healthy. Make them delicious. Make them from scratch. Buy them at the grocery store. I honestly don’t care.
The win: pick one version and get popsicles in the freezer.
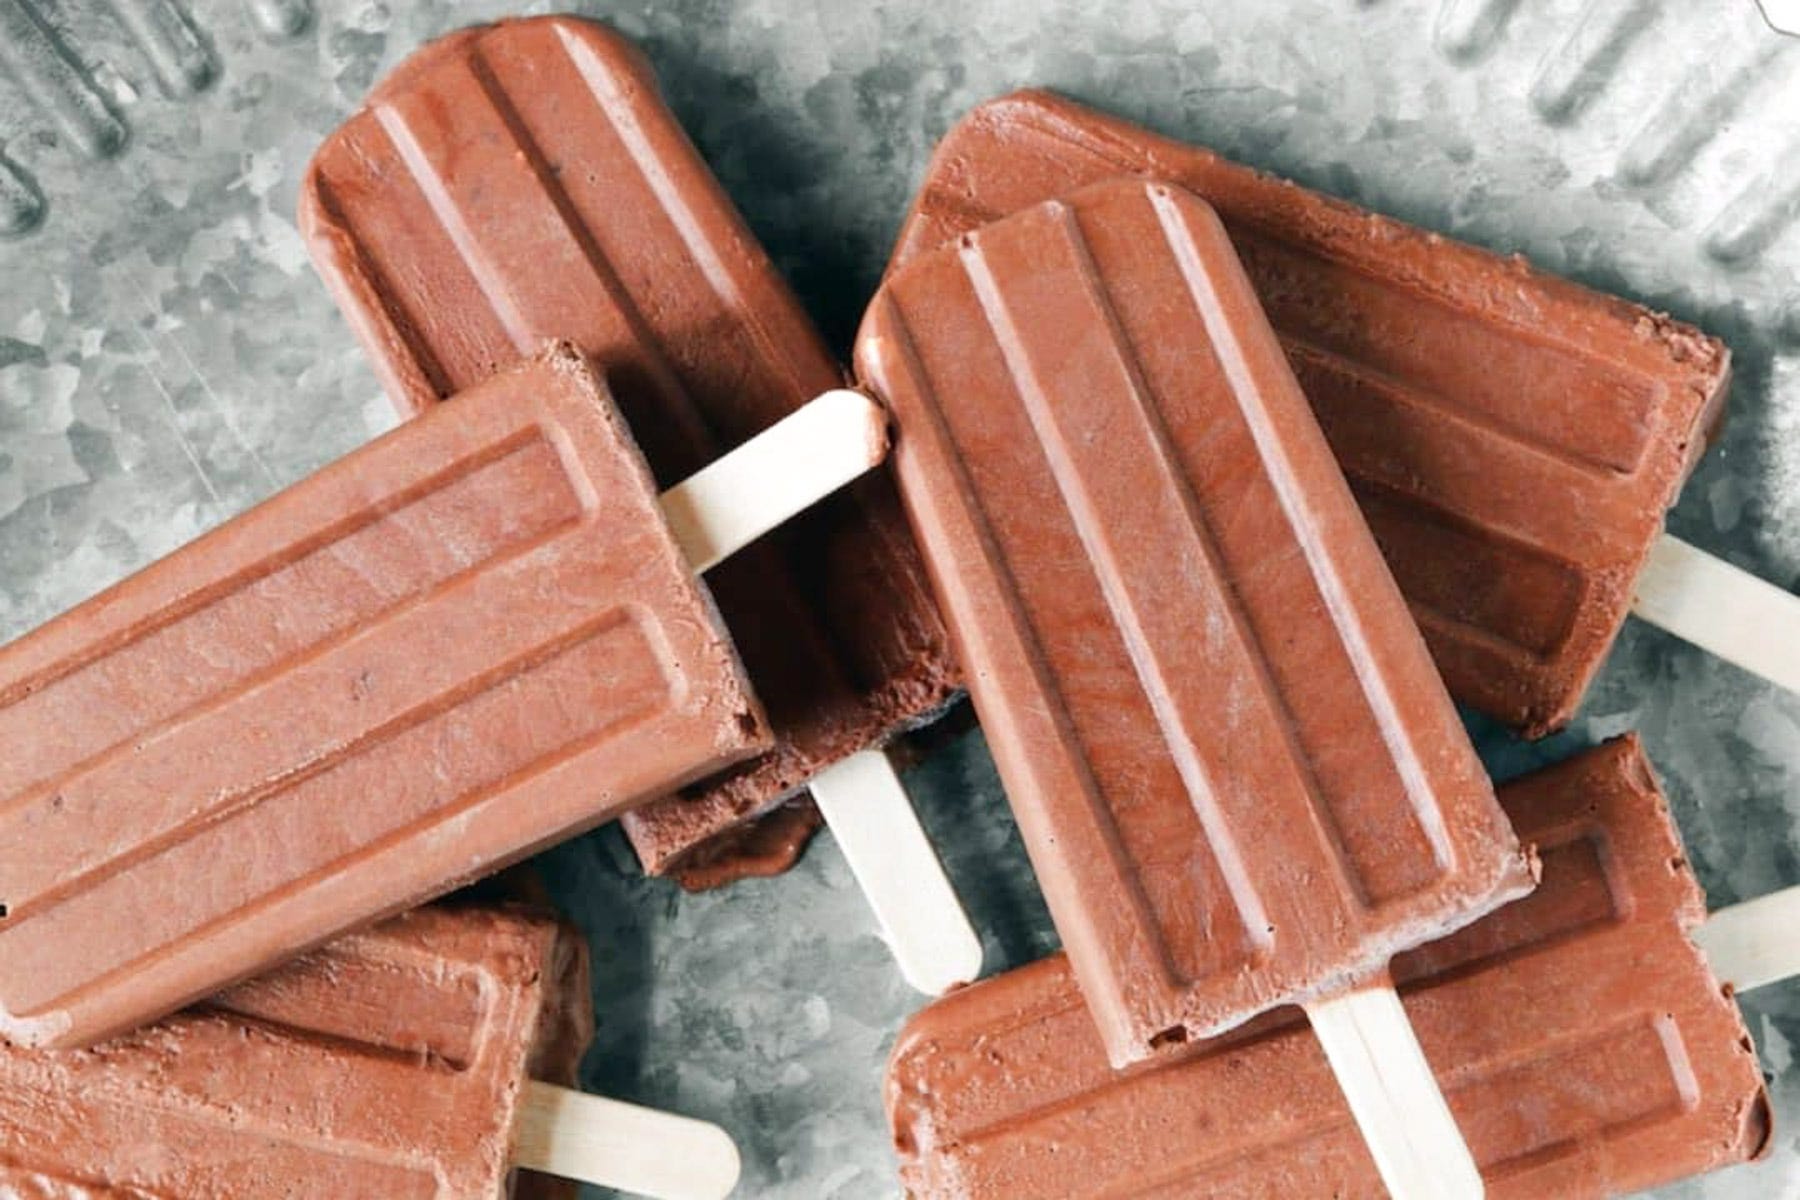
homemade fudge pops are the high effort option. Chocolate, creamy, worth turning on the stove.
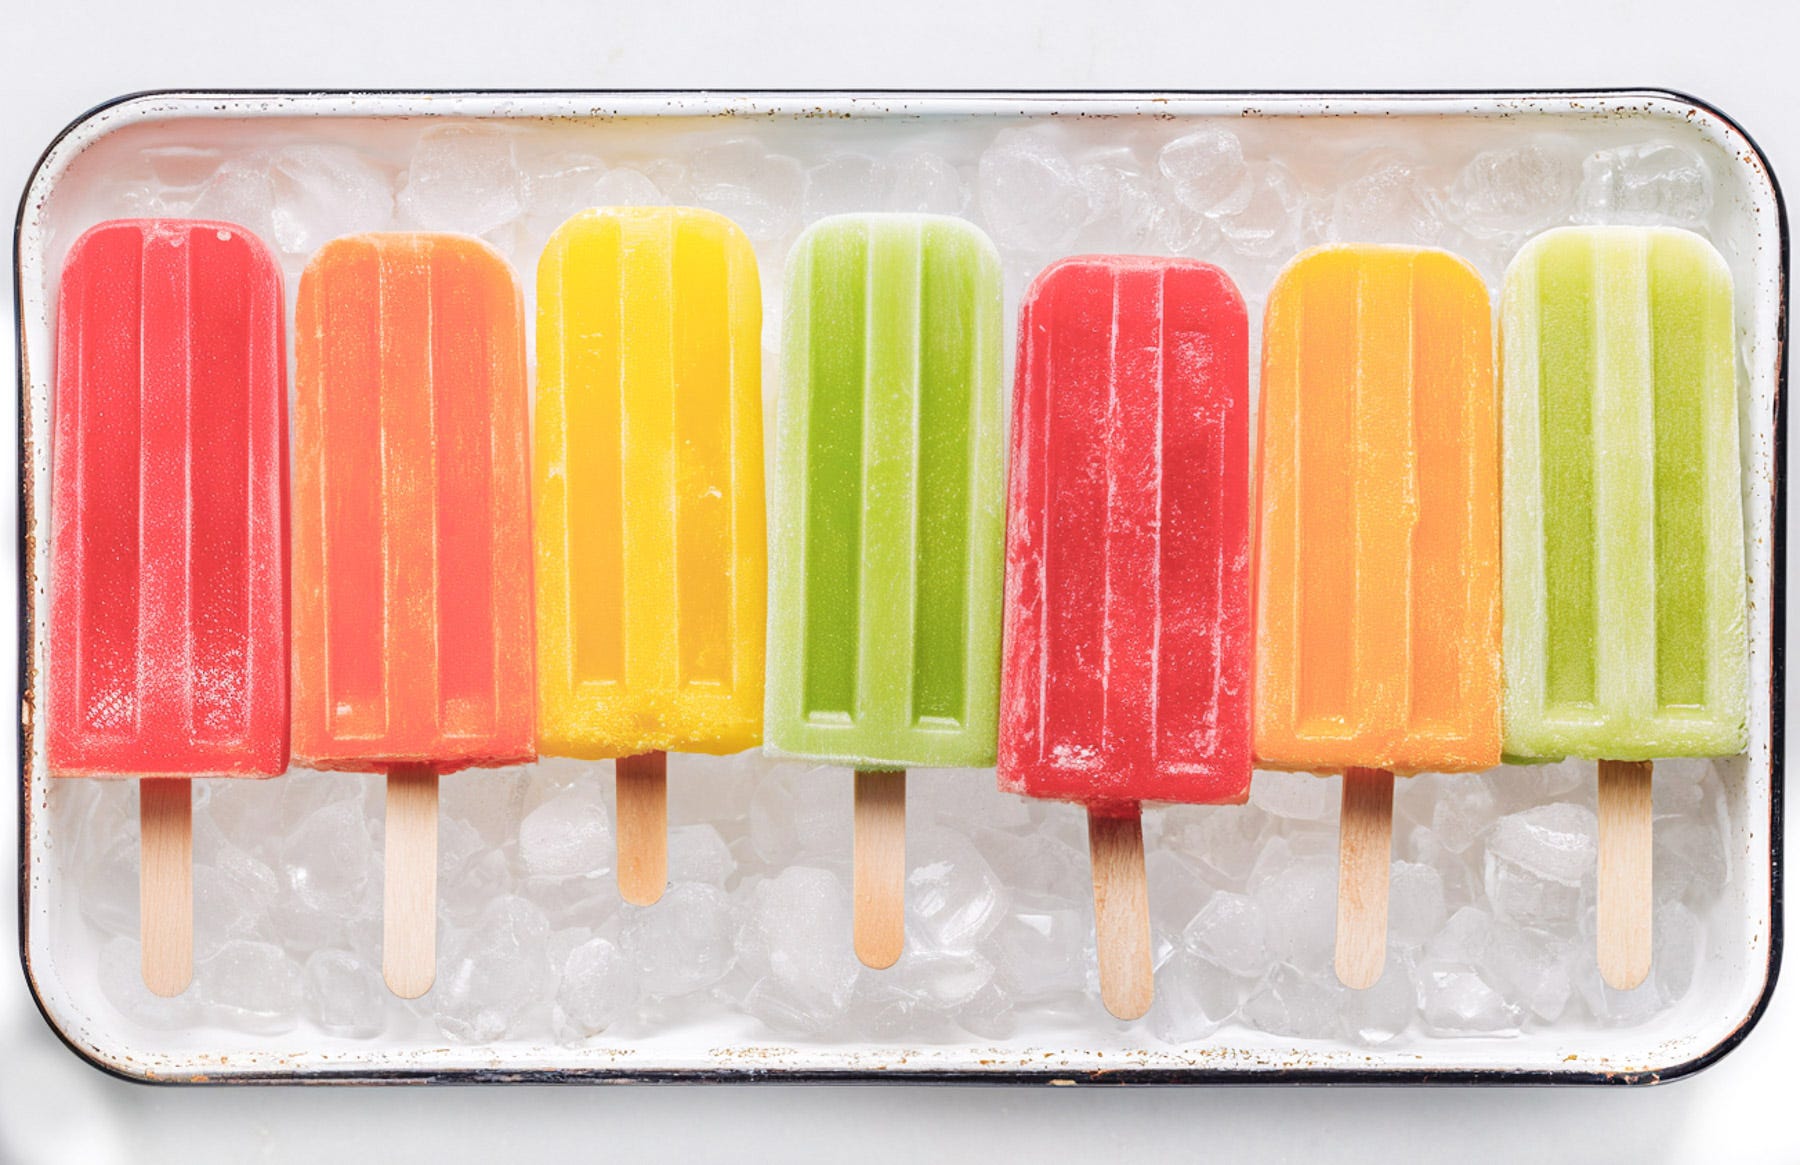
blender pops are the medium effort option. Flexible, fast, kid-friendly.
store-bought popsicles are the low effort option. Buy the box. Put it in the freezer. Done.

I have opinions about popsicle molds now, which feels like a personal development I did not see coming.
I use two kinds.
My favorite is one big silicone mold with wooden sticks. I freeze the batch, unmold everything at once, freeze them briefly on a sheet pan, then wrap each one in parchment and store them in a freezer bag.
Yes, it is an extra step.
But it is better than a kid running warm water over the whole mold to get one popsicle out and ruining the rest.
If you want individual molds, I like this Zoku style. The base and handle are connected, so there are fewer pieces to keep up with, and they release easily.
The tradeoff: wooden sticks have to stay stocked. Plastic handles have to make it back to the kitchen.
Choose your inconvenience.

These are my kids’ favorites, which, of course they are. Given three options, they picked the one that requires a saucepan.
High effort is relative. This is still popsicles.
Warm milk and cream, whisk in condensed milk, melt in chocolate, pour. The freezer does the rest, slowly, because popsicles enjoy making everyone wait.
The condensed milk is doing the real work here. It keeps these creamy instead of icy.
homemade fudge pops
Time: 20 minutes, plus freezing
Makes: 6-8 popsicles (depending on mold size)
ingredients
1½ cups (360ml) whole milk
½ cup (120ml) heavy cream
½ cup (160g) sweetened condensed milk
½ cup (85g) semi-sweet chocolate chips
2 tablespoons unsweetened cocoa powder
½ teaspoon vanilla extract
Pinch of salt
instructions
Warm the dairy: In a saucepan over medium-low heat, warm whole milk (1½ cups) and heavy cream (½ cup). Whisk in sweetened condensed milk (½ cup) until fully combined.
Melt the chocolate: Add semi-sweet chocolate chips (½ cup) and unsweetened cocoa powder (2 tablespoons). Whisk until the chocolate is melted and the mixture is smooth.
Flavor and cool: Remove from heat and stir in vanilla extract (½ teaspoon) and a pinch of salt. Let cool slightly.
Freeze: Pour into popsicle molds, insert sticks, and freeze until solid.
Serve: Big mold: unmold the whole batch, wrap each one in parchment, and store in a freezer bag. Individual molds: warm water on the outside for a few seconds, release one at a time.
worth knowing
No popsicle molds? Small paper cups and wooden craft sticks work just fine.
Chocolate: Semi-sweet chocolate chips are my favorite, but chopped dark chocolate works too.
Double it: This recipe doubles easily if you have enough molds.

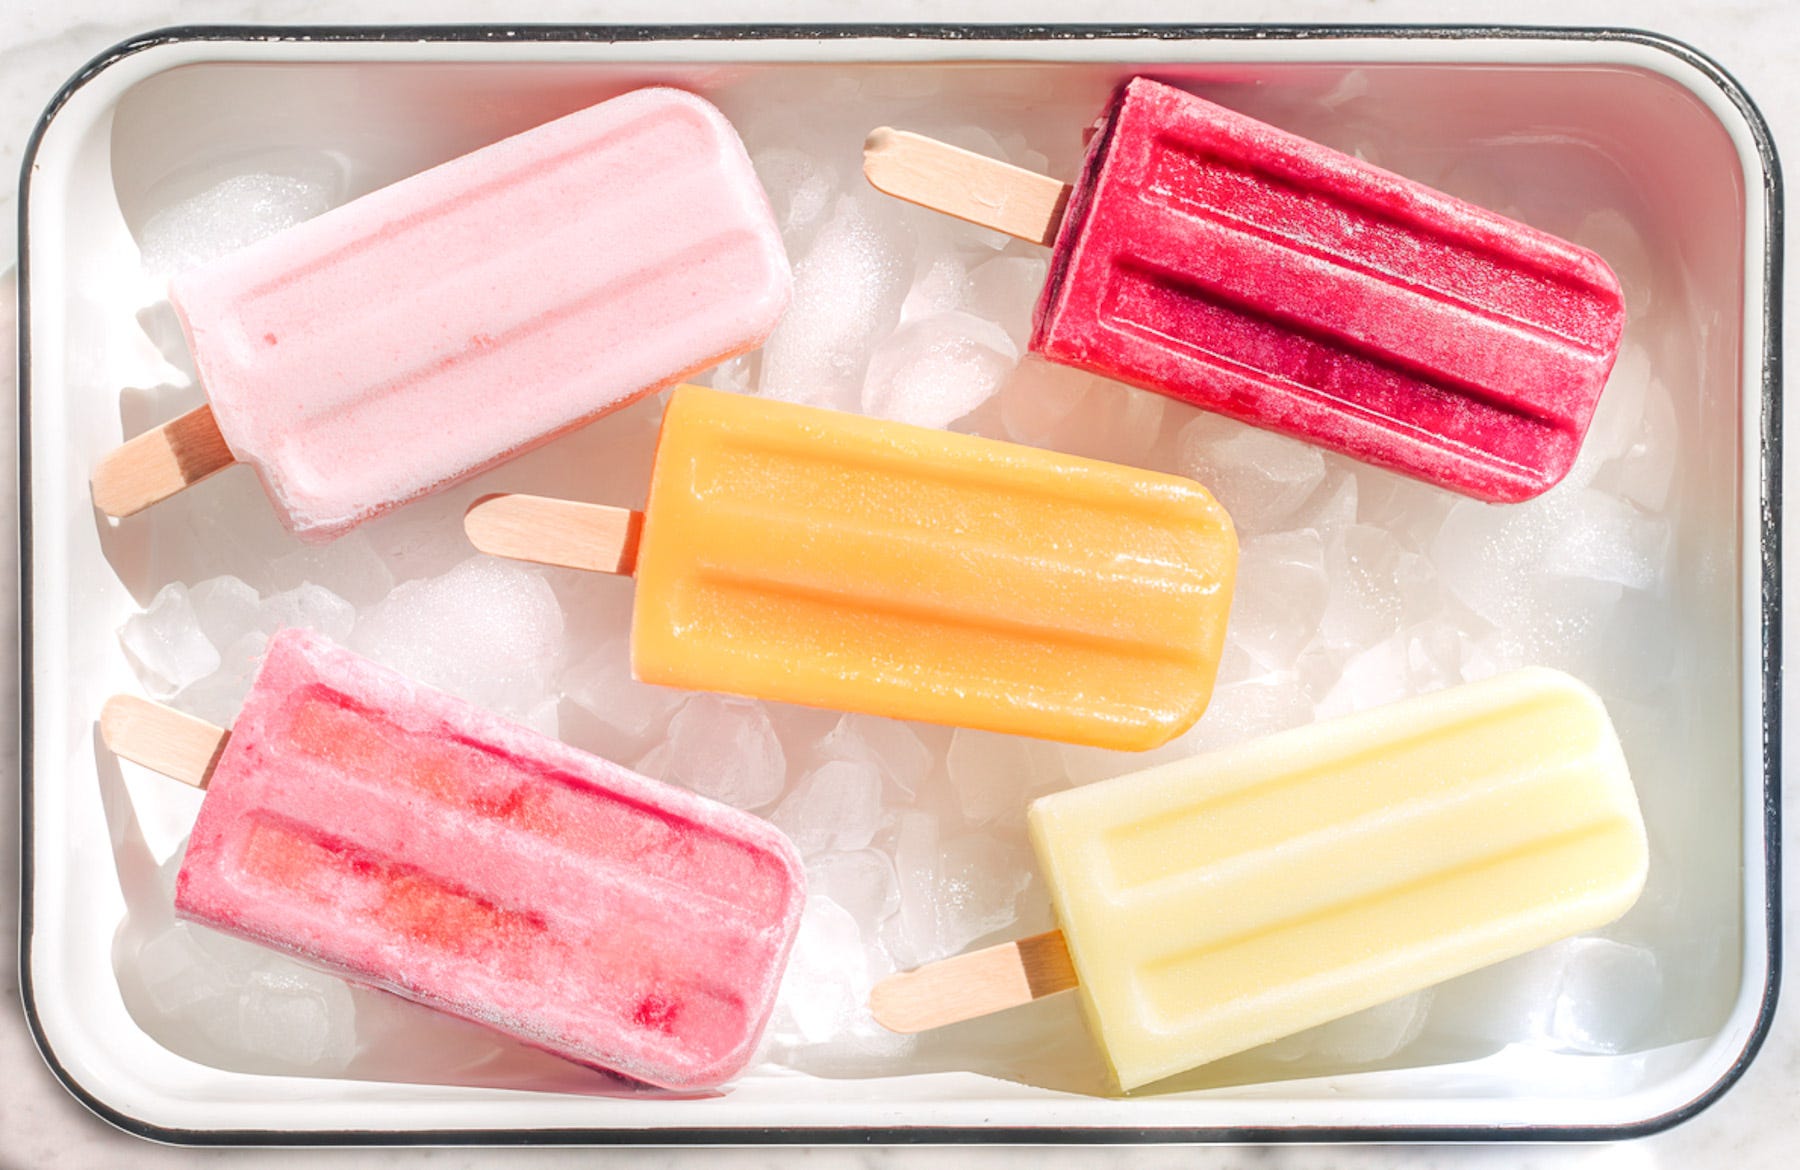
This is the version I make most often. A blender, a handful of ingredients, and about five minutes of actual work.
The formula is 2-1-2. Two cups of fruit. One cup of something creamy. Two tablespoons of something sweet.
Strawberries are below because that is what gets requested here. But the math holds for mango, peaches, or whatever fruit you need to use up.
creamy strawberry popsicles
Time: 10 minutes, plus freezing
Makes: About 6 popsicles (depending on mold size)
ingredients
2 cups strawberries (300g), fresh or frozen
¾ cup (170g) plain Greek yogurt
¼ cup (60ml) heavy cream
2 tablespoons honey
1 tablespoon lemon juice
Pinch of salt
Optional: ½ teaspoon vanilla extract
instructions
Add everything to the blender: Combine strawberries (2 cups), plain Greek yogurt (¾ cup), heavy cream (¼ cup), honey (2 tablespoons), lemon juice (1 tablespoon), salt (pinch), and vanilla extract (½ teaspoon), if using.
Blend: Blend until completely smooth.
Taste: The mixture should taste slightly sweeter than you want the finished popsicles to be. Freezing dulls sweetness.
Freeze: Pour into popsicle molds, insert sticks, and freeze until solid, at least 6 hours or overnight.
Serve: Big mold: unmold the whole batch, wrap each one in parchment, and store in a freezer bag. Individual molds: warm water on the outside for a few seconds, release one at a time.
worth knowing
Creamier popsicles: Use full-fat Greek yogurt and heavy cream.
Tart berries: If your strawberries are especially tart, add another tablespoon of honey.

Remember when I said I wasn’t trying to make popsicles precious?
This is what I meant.
Buy the box.
Put it in the freezer.
Go enjoy the twenty minutes.